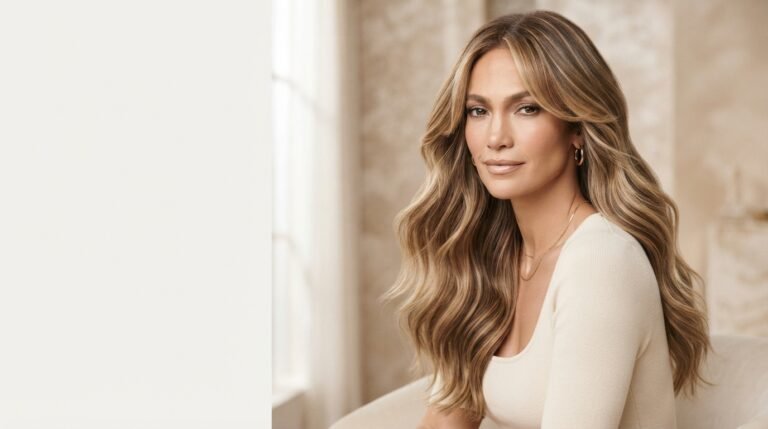
A great haircut does more than remove length—it changes the way your entire face is seen. Face-framing layers are one of the easiest ways to create that effect without committing to a dramatic transformation. They can soften strong angles, highlight cheekbones, add movement around the eyes, or simply make long hair feel lighter and more intentional. The best part is how customizable they are: a few carefully placed pieces can look polished and subtle, while shorter layers can create a bold, modern finish.
Whether your hair is straight, wavy, curly, thick, fine, long, or somewhere in between, there is a face-framing style worth saving. The placement, starting point, and amount of layering all make a difference, so the right version depends on both your features and your preferred styling routine. Below, you’ll find 21 chic ideas ranging from barely-there layers to statement-making curtain pieces, along with practical styling details to help you choose a look that feels fresh rather than forced.
1. Long, Soft Face-Framing Layers
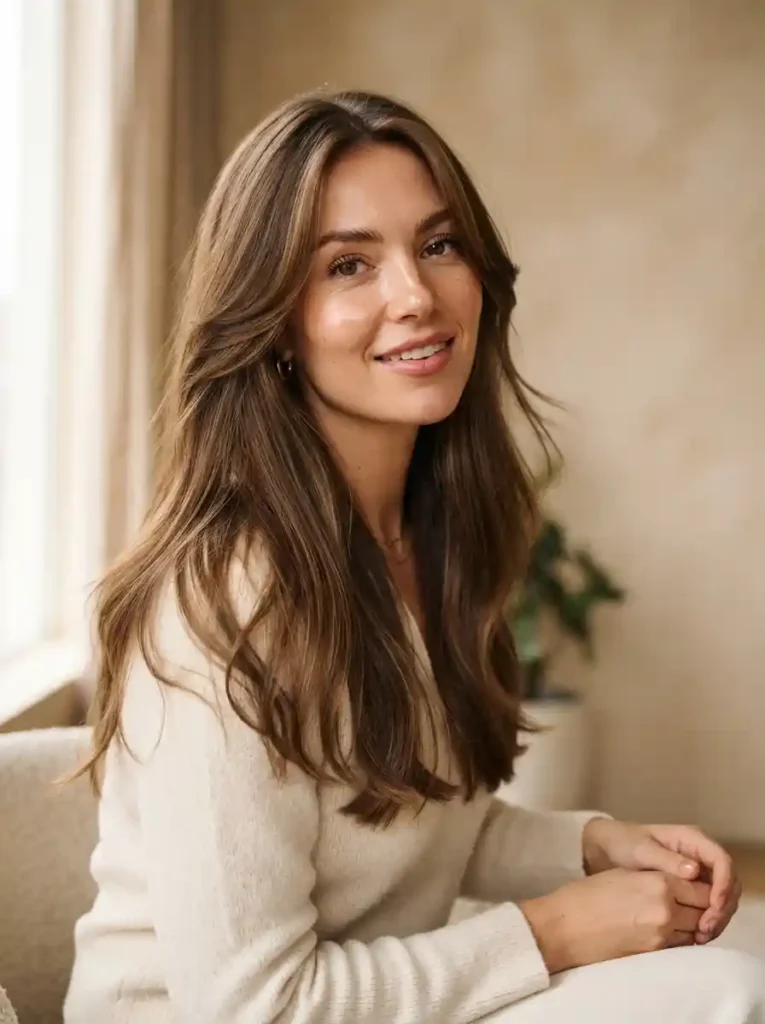
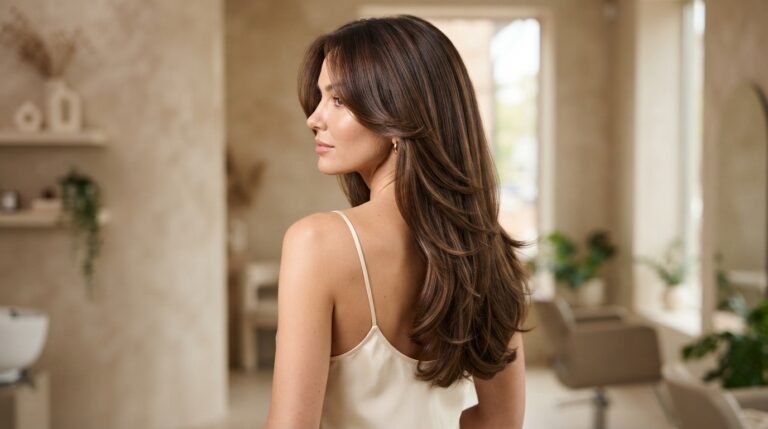
Long face-framing layers are ideal when you want visible movement without sacrificing the appearance of length. Starting the shortest pieces around the cheekbone or slightly lower keeps the haircut elegant and easy to grow out. This placement works especially well for medium-to-thick hair because the layers can remove visual heaviness near the front while leaving the back relatively full. Ask your a round brush to direct the front pieces slightly away from your face, creating gentle lift without an overly curled effect.
For everyday styling, these layers look beautiful with a simple blowout, loose waves, or naturally straight hair. Use a round brush to direct the front pieces slightly away from your face, creating gentle lift without an overly curled effect. If your hair is fine, avoid removing too much density from the ends, since excessive layering can make the perimeter look thin. A lightweight smoothing cream can add polish while preserving natural movement.
2. Curtain Bangs With Cheekbone Layers

Curtain bangs become especially flattering when they transition naturally into cheekbone-length layers instead of ending abruptly. The shorter center pieces create softness around the forehead, while the longer sides guide attention toward the cheekbones. This combination is particularly versatile for people who want the visual impact of bangs without maintaining a blunt fringe. Tell your stylist whether you usually part your hair in the center or slightly off-center, because that detail affects how the curtain pieces should be cut.
Styling is easiest when the bangs are dried first, while the hair is still damp. Use a medium round brush to sweep each side outward and slightly backward, then allow the pieces to cool before separating them with your fingers. Avoid heavy waxes or oils near the roots because they can flatten the airy shape. For a softer Pinterest-friendly finish, leave the ends slightly imperfect rather than creating a rigid, symmetrical curtain.
3. Face-Framing Layers for a Round Face
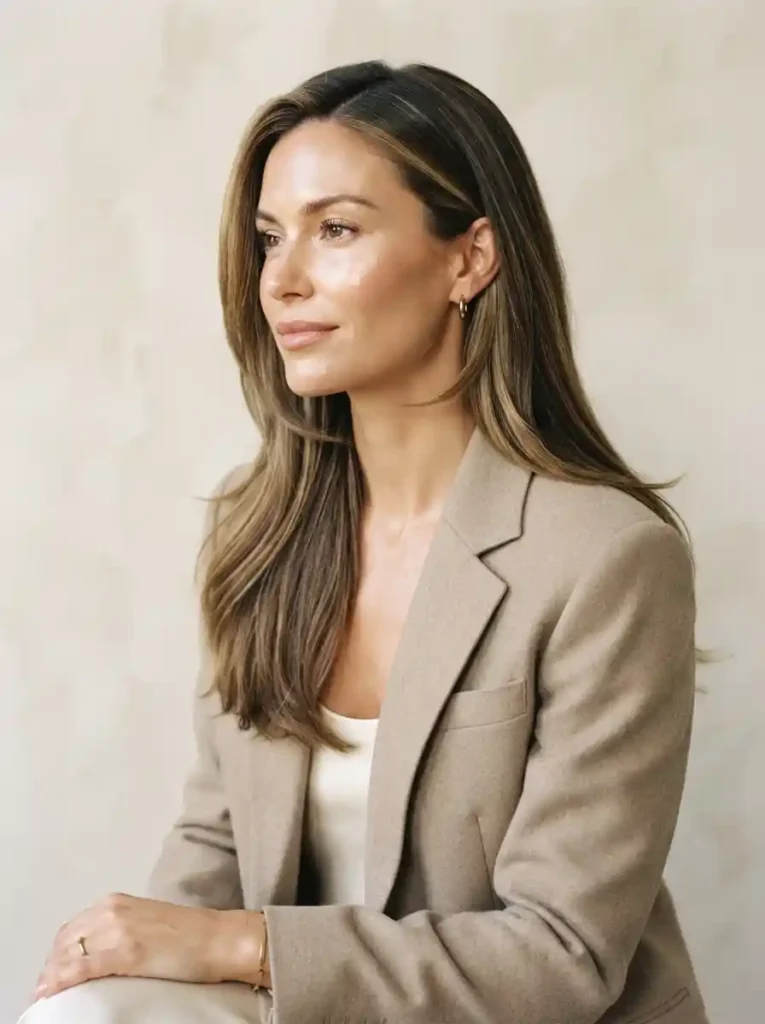
When you want to visually lengthen a rounder face shape, the placement of layers matters more than simply adding lots of texture. Face-framing pieces that begin below the cheekbones or around the jaw can create a longer vertical line without adding unnecessary width at the sides. Keeping the upper sections relatively smooth is helpful because excessive volume beside the cheeks can make the haircut appear broader. Bring a reference photo showing the exact starting point you prefer.
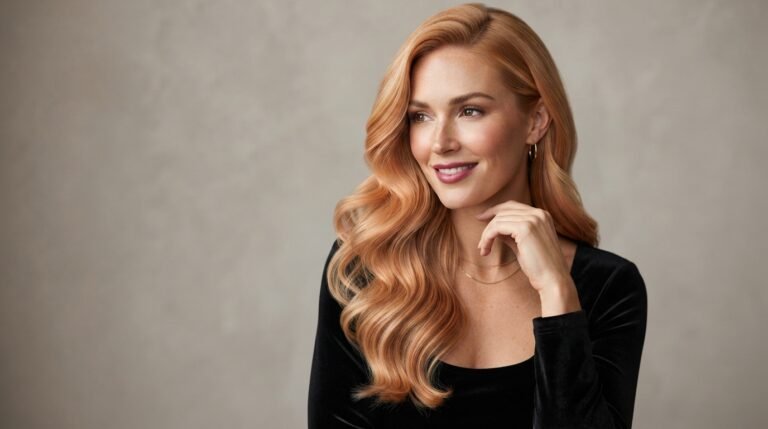
A slightly off-center part can complement this shape by introducing asymmetry and directing attention diagonally across the face. During styling, lift the roots at the crown rather than aggressively curling the sides. Long, outward-blown ends can also create movement that extends visually downward. If your hair naturally expands with humidity, ask for controlled internal layering clean middle part, subtle bronzed makeup, black sleeveless top, minimalist warm-gray studio, soft directional lighting highlighting the jaw and around the lower face and can make a simple haircut feel considerably more intentional.
4. Jawline-Highlighting Layers
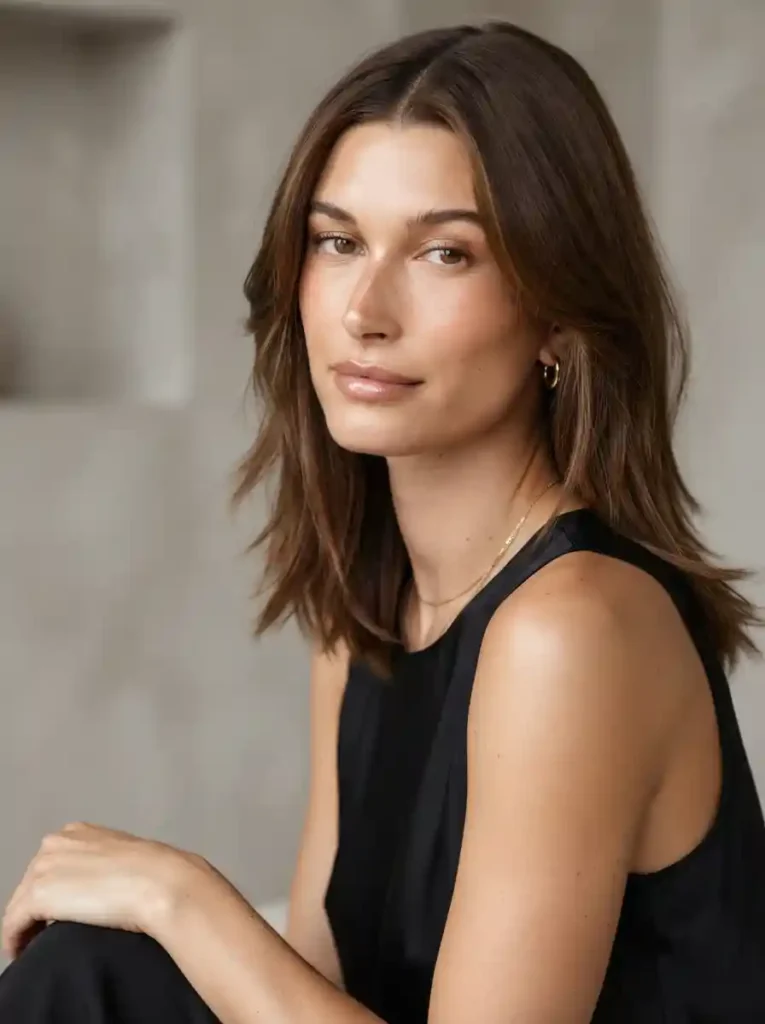
Jawline-length layers create a more defined visual frame around the lower face and can make a simple haircut feel considerably more intentional. They are particularly striking on shoulder-length or collarbone hair because the shorter front pieces create contrast against a longer perimeter. If your hair is naturally thick, this cut can also help remove some heaviness around the front. For a softer effect, request tapered ends rather than a blunt, shelf-like finish.
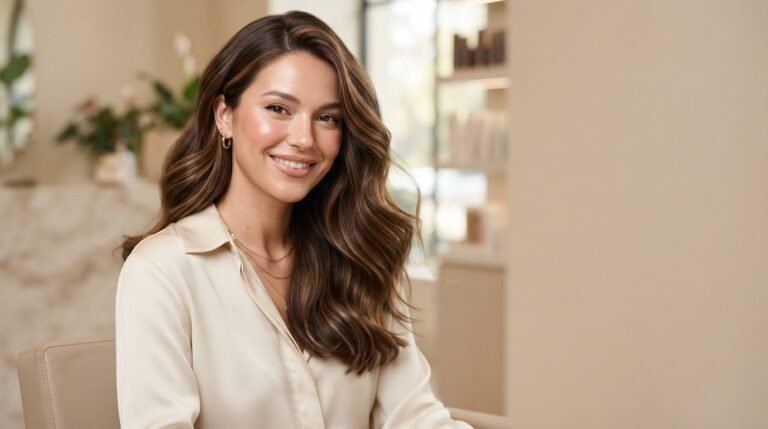
The style does require thoughtful daily placement because the shortest pieces sit directly beside the jaw. A quick round-brush blow-dry can turn them outward for a lifted appearance or inward for a sleek, sculpted shape. If you prefer air-drying, ask for layers that follow your natural texture instead of fighting it. This is especially important for wavy hair, where overly luxury editorial photograph of a woman with long honey-brown hair and softly layered front sections framing the face, delicate slightly lighter caramel strands around the temples, natural center part, luminous skin, white linen shirt, elegant neutral interior, golden afternoon window light, three-quarter portrait angle, detailed dimensional color precise short pieces can shrink unpredictably after drying.
5. Long Layers With a Subtle Money-Piece Effect
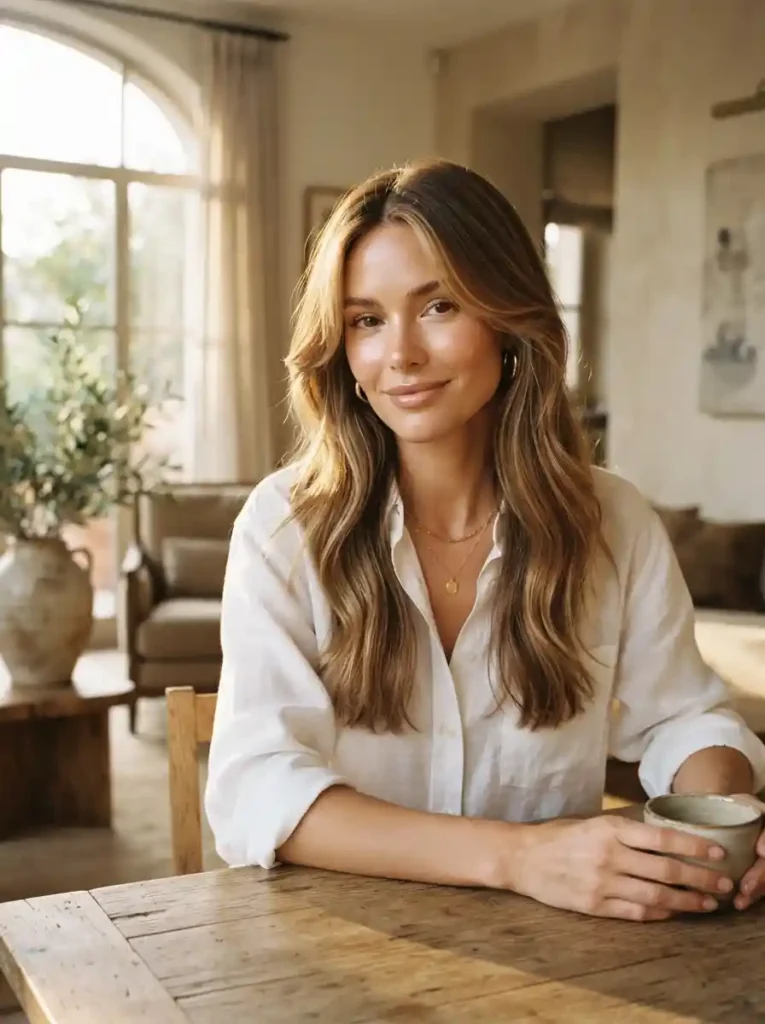
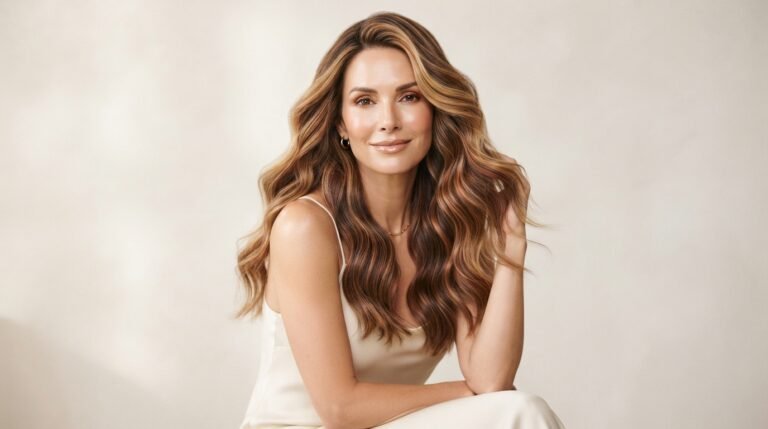
A subtle money-piece effect can make face-framing layers stand out without requiring dramatic color. The idea is to keep the haircut soft while adding a few slightly lighter strands around the front, particularly near the temples and cheekbones. This combination catches light exactly where the layers move. For a natural result, choose highlights only one or two shades lighter than your base rather than creating a high-contrast stripe.
Placement is important if you want the color to remain sophisticated as it grows. Ask your colorist for blended brightness rather than a solid block of lightness, especially if you frequently wear your hair in different parts. Face-framing layers will move throughout the day, so softly diffused color tends to look better than rigid placement. A gloss treatment can also help the highlighted pieces appear shiny and cohesive with the rest of the haircut.
6. Wispy Layers for Fine Hair

Fine hair benefits from face-framing layers that create movement without removing too much density. Wispy pieces around the temples and cheekbones can make the haircut feel lighter while preserving enough fullness through the ends. The key is restraint: too many short layers can make fine hair appear sparse. Ask for strategically placed sections rather than an all-over heavily layered cut, and explain whether your priority is movement, volume, or maintaining a fuller-looking perimeter.
Styling products should also remain lightweight. A volumizing mousse at the roots and a small amount of texture spray through the mid-lengths can add separation without weighing everything down. When blow-drying, direct the front pieces away from the face with a small or medium brush, then let them cool before loosening them. Avoid repeatedly brushing the finished style, since fine hair can lose its shape and become flat quickly.
7. Thick Hair With Blended Front Layers
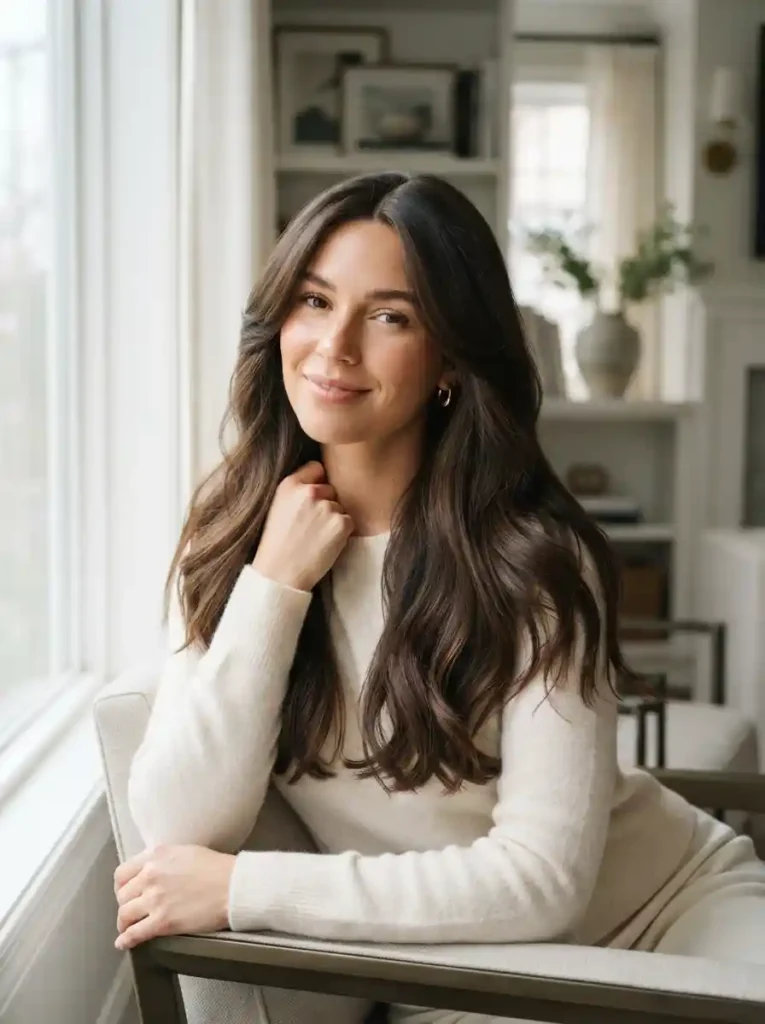
Thick hair can look spectacular with face-framing layers because the added movement prevents the front from feeling heavy or curtain-like. Instead of concentrating every layer around the face, ask your stylist to blend the front sections into the overall shape. This creates a smoother transition from shorter pieces to longer lengths. Removing some internal weight may also help, but it should be done carefully so the ends retain a healthy, substantial appearance.
If your thick hair tends to become bulky after drying, styling direction can make a noticeable difference. Blow-dry the front sections outward and slightly downward rather than lifting them straight up. For naturally wavy hair, a curl cream can encourage definition while allowing the layers to separate naturally. Regular trims are useful because dense hair can make grown-out layers appear less deliberate, particularly around the cheek and jaw areas.
8. Butterfly-Inspired Face Framing
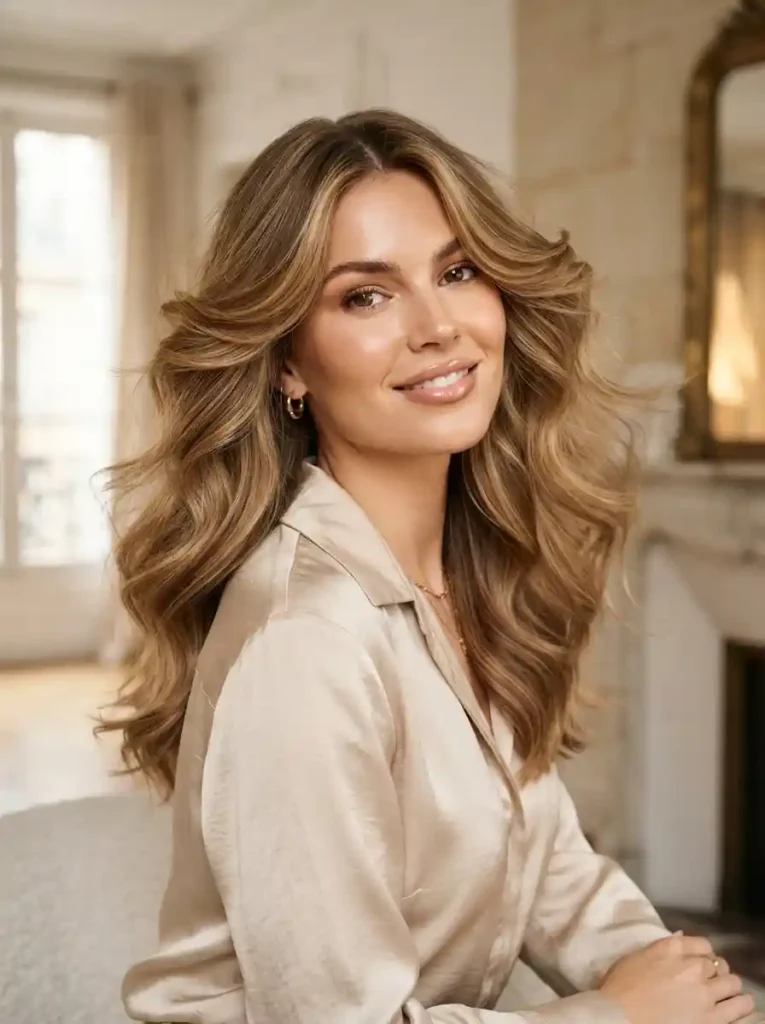
Butterfly-inspired layering combines shorter, airy front sections with longer cascading layers, creating a dramatic shape while keeping plenty of length. The shortest pieces often begin around the cheekbones or chin, then gradually connect to longer sections throughout the haircut. This works particularly well for people who want noticeable volume and movement but are reluctant to lose their long hair. The finished effect feels glamorous rather than heavily chopped round brush can create the signature sweeping movement, while velcro rollers can help the sections cool into a longer-lasting shape.
This style is most impressive when the front pieces are styled with lift and direction. A large round brush can create the signature sweeping movement, while velcro rollers can help the sections cool into a longer-lasting shape. If your hair is naturally fine, concentrate volume at the crown and upper layers rather than teasing aggressively. Those with naturally curly textures should discuss shrinkage before choosing the shortest layer length.
9. Face-Framing Layers for Wavy Hair
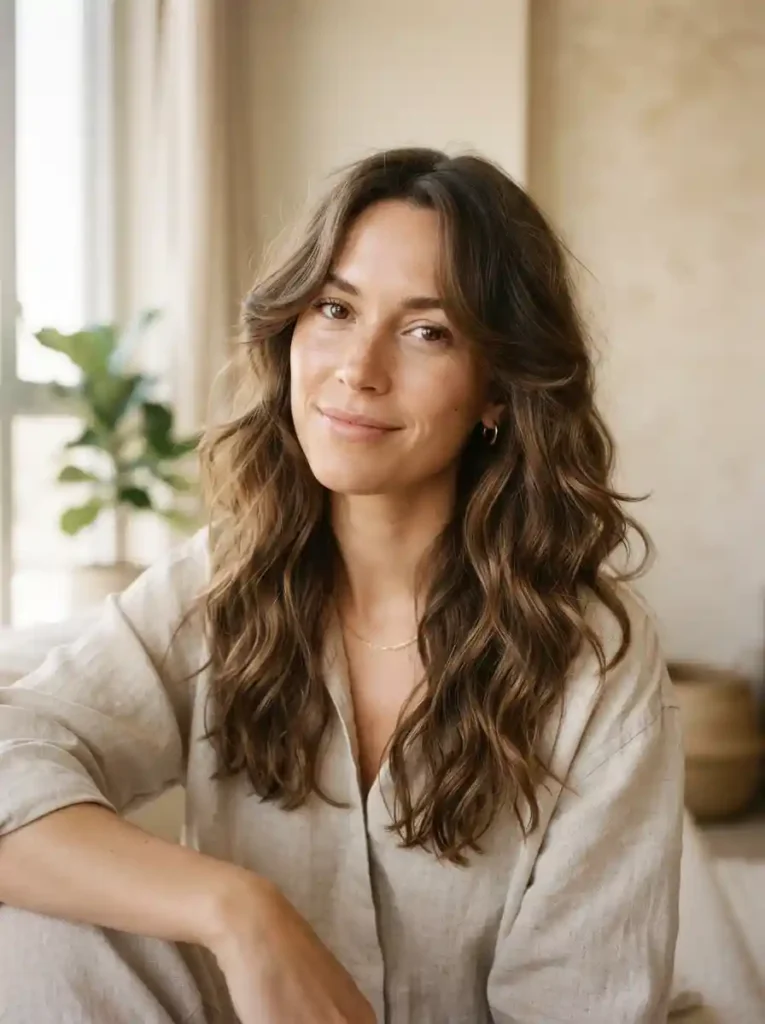
Wavy hair can make face-framing layers look effortlessly dimensional because the texture naturally separates the shorter pieces. The best cut usually follows the hair’s existing movement rather than forcing every section into a perfectly symmetrical shape. Ask your stylist to consider how much your waves contract as they dry, particularly around the face. A layer that looks comfortably long while wet may become considerably shorter once the natural wave pattern returns.
Styling should support that texture instead of flattening it. Apply a lightweight curl cream or mousse to damp hair, gently scrunch the front pieces, and allow them to dry with minimal manipulation. If using a diffuser, keep the airflow gentle around the face to prevent frizz. Once completely dry, separate individual pieces with your fingertips. length, sharp center part, clean makeup, tailored black blazer, minimalist architectural studio, cool soft lighting, straight-on camera with subtle three-quarter composition, glossy realistic strands A tiny amount of lightweight oil on the ends can soften dryness without collapsing the wave pattern.
10. Sleek Layers for Straight Hair
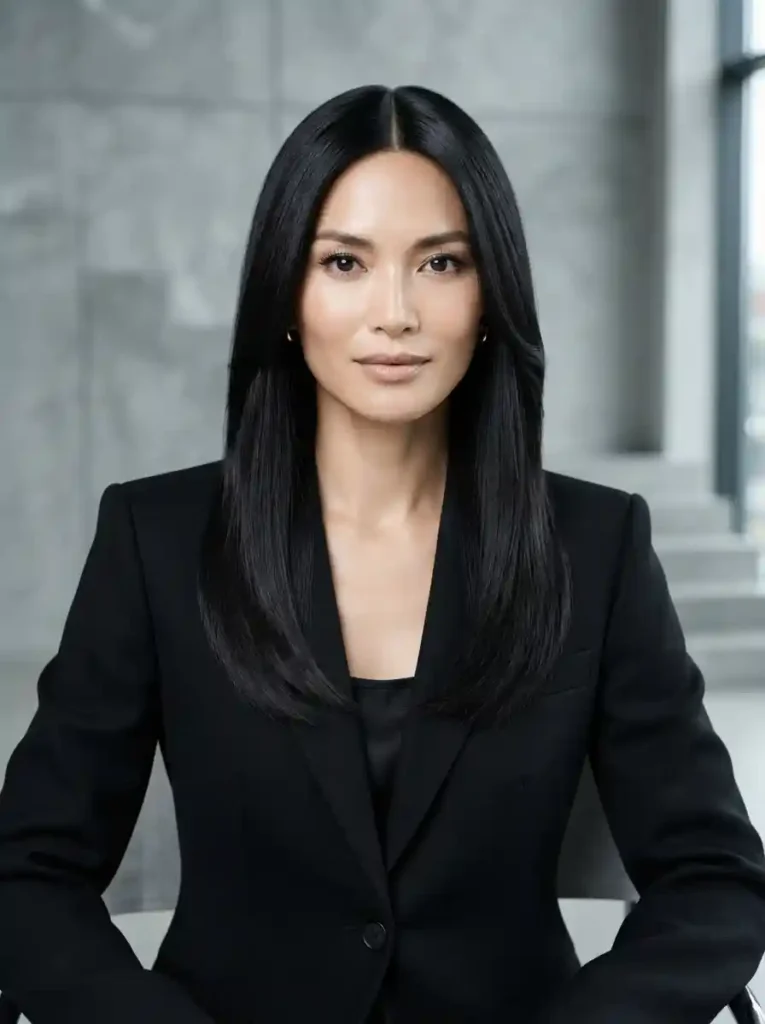
Straight hair makes the architecture of a haircut particularly visible, so carefully blended face-framing layers can look exceptionally polished. Long, clean pieces around the cheekbones and jaw create movement without disturbing the sleek overall silhouette. This approach suits people who prefer refined hairstyles over highly textured finishes. If your hair is very straight and fine, avoid excessive thinning around the face because sparse ends can make the haircut appear uneven.
For a glassy finish, apply heat protectant before blow-drying and use a flat iron only when necessary. Keep the temperature appropriate for your hair type rather than automatically choosing the highest setting. A tiny amount of smoothing serum through the ends can control flyaways, but avoid applying heavy product at the roots. For an intentionally modern look, keep the part crisp and let the front layers fall naturally rather than curling them.
11. Chin-Length Pieces on Long Hair
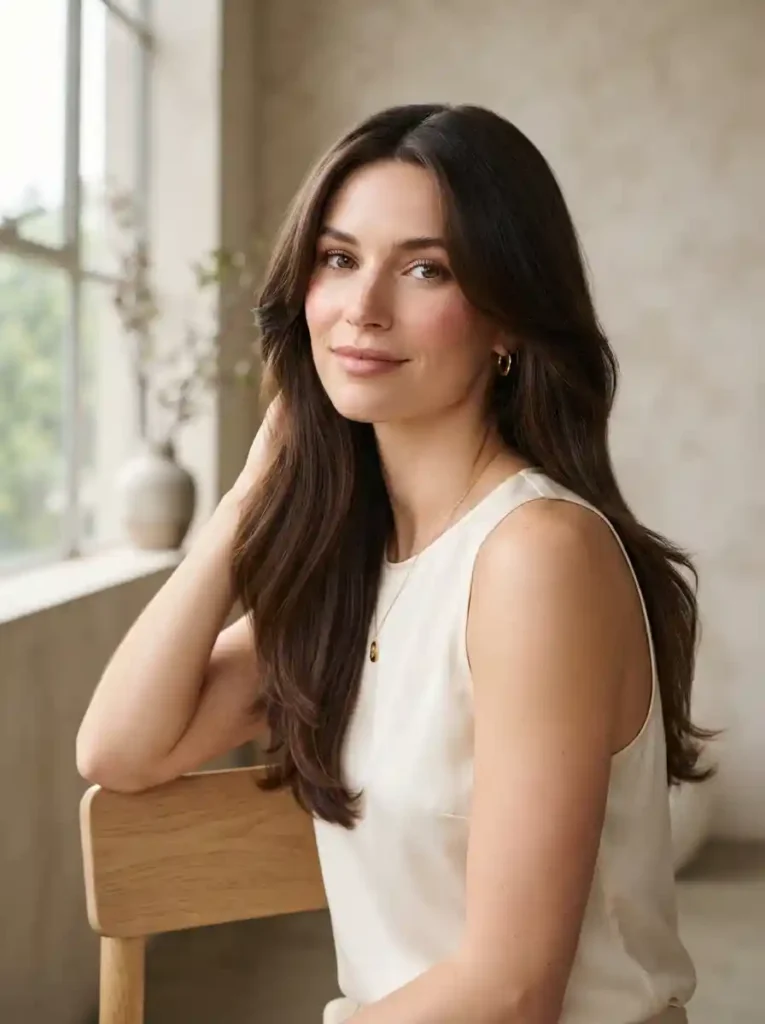
Chin-length face-framing pieces create a noticeable change without requiring a shorter overall haircut. On long hair, this placement gives the front a defined focal point while the back remains dramatically long. It can be especially effective if your current hairstyle feels heavy or visually flat around the face. Because the shortest pieces sit near the chin, make sure you are comfortable with that length before committing; they will be visible even when the rest of your hair is worn straight.
These layers can be styled in several directions, which makes them surprisingly versatile. Turn the ends inward for a polished, face-hugging shape, or sweep them outward for a softer, retro-inspired finish. When wearing a ponytail, the chin-length pieces can remain loose to frame the face. If you exercise frequently or prefer tying your hair back, tell your stylist so the front layers are practical face-framing layers crossing softly toward the cheekbone, loose polished waves, natural makeup, structured cream blazer, sophisticated taupe studio background, directional side familiar haircut feel completely different.
12. Side-Parted Face-Framing Layers
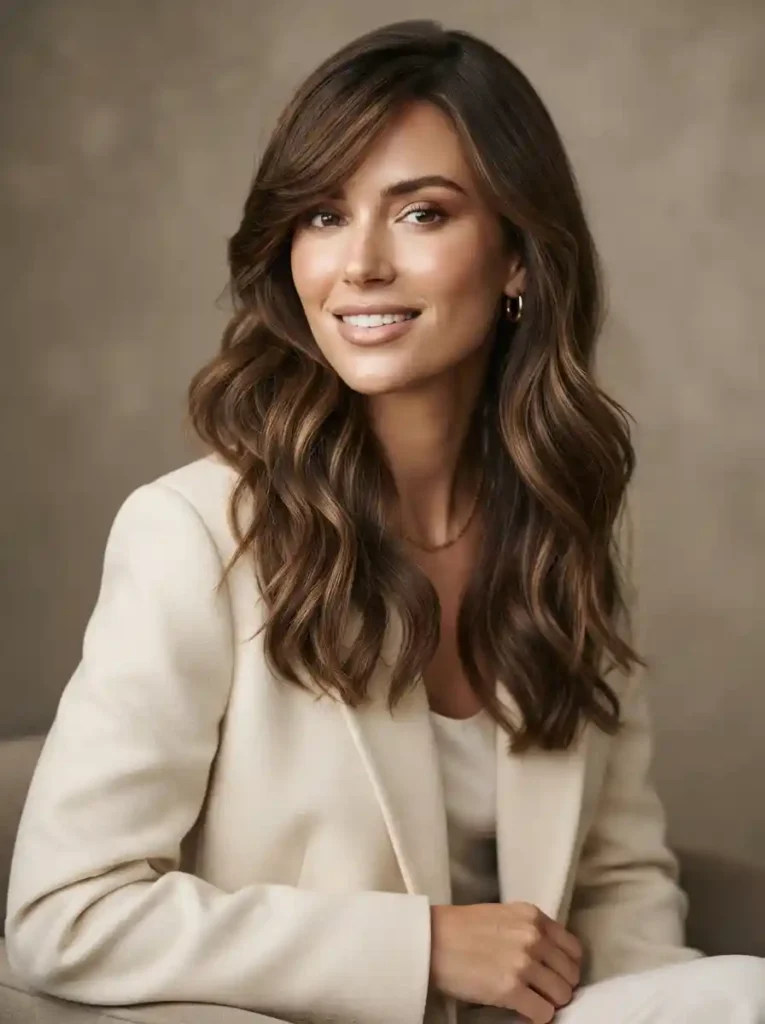
A side part changes the visual balance of face-framing layers and can make a familiar haircut feel completely different. Instead of matching both sides precisely, the heavier section can sweep diagonally across the forehead and cheekbone, creating an elegant sense of movement. This approach suits anyone who enjoys asymmetry or finds a center part too severe. Bring your usual parting pattern to the appointment because layers behave differently when the hair is redistributed.
To style the look, begin by directing the front section toward the opposite side while blow-drying. Once dry, use a large brush or curling iron to create a soft bend rather than a tight curl. Keep the roots relatively smooth so the side part remains intentional. If the front pieces repeatedly fall forward, a light flexible hairspray can help hold the shape without making the hair stiff or helmet-like.
13. Collarbone Cut With Face-Framing Layers

A collarbone-length haircut offers a useful middle ground between short and long hair, and face-framing layers can make the shape feel even more customized. Layers beginning around the jaw create movement near the face while preserving enough length to tuck the hair behind your ears or pull it into a small ponytail. This combination works well when you want a fresh change but still need everyday versatility for work, travel, or casual more pronounced. For naturally straight hair, a soft bend at the ends can emphasize the shape.
The collarbone area is also a helpful reference point when discussing maintenance with your stylist. Ask whether the front layers should blend gradually into the perimeter or remain slightly more pronounced. For naturally straight hair, a soft bend at the ends can emphasize the shape. For waves, scrunching the layers while damp can produce a relaxed finish. Trim the front more regularly if you want the jawline placement to remain precise.
14. Feathered Seventies-Inspired Layers

Seventies-inspired feathered layers bring a more expressive personality to face-framing hair. The front sections typically begin around the cheekbones and sweep outward, creating a soft winged shape that connects into longer layers. This style is especially appealing if you enjoy retro references but want a wearable modern interpretation. The difference between chic feathering and dated volume is usually in the finish: keep the texture soft and avoid overly stiff, heavily teased sections.
A large round brush is the simplest way to recreate the characteristic movement. Direct each front section backward while lifting it slightly from the root, then allow the hair to cool before gently separating the layers. A flexible styling spray can preserve the sweep without eliminating movement. If your hair is naturally very straight, a large-barrel curling iron can reinforce the bend, but brush through the curl afterward for a relaxed finish.
15. Curly Face-Framing Layers
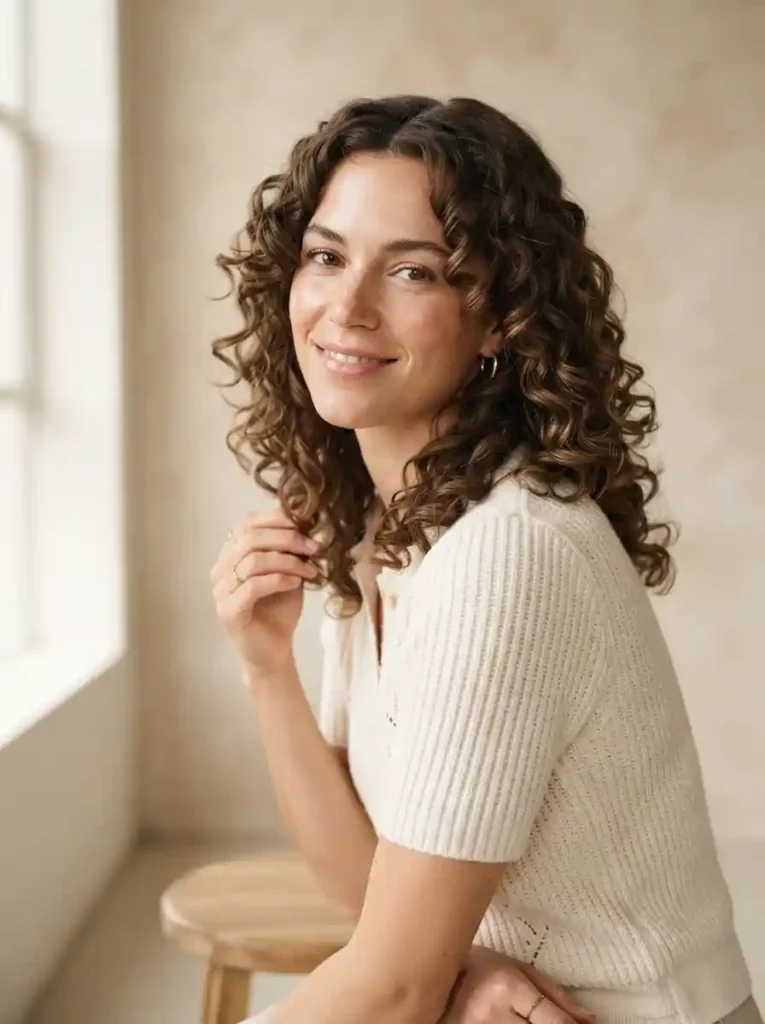
Curly hair needs face-framing layers that respect the natural curl pattern rather than treating curls like straight strands. The shortest pieces should be chosen with shrinkage in mind, since curls can spring upward considerably after drying. A stylist experienced with textured hair can assess the curl pattern and determine whether the layers should be cut dry, wet, or through a combination of techniques. The goal is balanced shape, not perfectly identical pieces on both sides.
At home, styling begins with even moisture distribution. Apply your curl product to soaking or very damp hair, gently shape the front curls with your fingers, and avoid repeatedly touching them while they dry. A diffuser can speed the process while maintaining definition. Once completely dry, gently fluff the roots if needed. If individual face-framing curls become too short or springy, resist trimming them yourself; small changes can dramatically alter the overall shape.
16. Minimal Face-Framing Layers for a Low-Maintenance Look

Not every face-framing haircut needs dramatic layers. Minimal pieces beginning below the jaw provide just enough movement to prevent long hair from looking one-dimensional while keeping daily styling easy. This option is especially practical for people who prefer air-drying, wear their hair tied back frequently, or dislike short pieces around the face. Because the stylist to blend the layers gradually into the length rather than creating a strong visual step.
For the most natural result, ask your stylist to blend the layers gradually into the length rather than creating a strong visual step. Your natural texture should guide the final shape. Straight hair may only need a slight bend at the front, while waves can be left to form their own pattern. This haircut is also useful if you are growing out bangs because the longer framing pieces can bridge the transition more gracefully.
17. Tousled Face-Framing Layers With Beachy Texture

Tousled face-framing layers are ideal when you want movement that looks intentionally relaxed rather than freshly sculpted. The front pieces can begin around the cheekbones or jaw and merge into longer textured lengths. This shape works particularly well with naturally wavy or slightly coarse hair because the texture gives the layers separation. If your hair is very fine and slippery, ask for gentle texture through the ends rather than aggressive thinning.
For beachy styling, apply a lightweight texturizing product to damp hair and scrunch before air-drying or diffusing. Once dry, separate a few front pieces with your fingers instead of brushing everything into uniform waves. The goal is variation: some strands should bend toward the face while others sweep away. If using a curling iron, alternate the direction of the curls and leave the last inch relatively straight for a believable, undone finish.
18. Blunt Bob With Soft Face-Framing Pieces

A blunt bob becomes more adaptable when a few softer face-framing pieces break up its strong perimeter. The main haircut can remain clean and substantial while the front layers introduce movement around the cheeks. This is a smart option for someone who likes structured haircuts but does not want the face to look boxed in. Keeping the framing pieces slightly longer than the bob’s shortest point can make the transition feel deliberate.
Styling can change the personality of this haircut quickly. Wear it sleek for a modern architectural appearance, or bend the front pieces outward with a flat iron for a softer finish. Avoid creating too much volume at the sides if you want to preserve the bob’s clean silhouette. Regular trims are more important here than with longer layered cuts because the blunt perimeter defines the haircut and can lose its crispness as it grows.
19. Face-Framing Layers With a Shaggy Finish

A modern shag uses face-framing layers more generously, creating a deliberately textured silhouette around the forehead, cheeks, and jaw. Unlike a traditional smooth layered haircut, the shag benefits from visible separation and varied lengths. It suits people who want personality and movement rather than a polished, uniform finish. The cut can be adapted to different lengths, but styled with your hands. Work a small amount of mousse or texture cream through damp hair, then scrunch and let the layers form naturally.
This haircut is particularly forgiving when styled with your hands. Work a small amount of mousse or texture cream through damp hair, then scrunch and let the layers form naturally. Once dry, pinch a few pieces around the face to emphasize separation. Avoid repeatedly straightening the haircut if you chose it for texture; excessive heat can flatten the very movement that gives the shag its character. A light trim keeps the shape intentional without making it overly precise.
20. Soft Face-Framing Layers for a Heart-Shaped Face
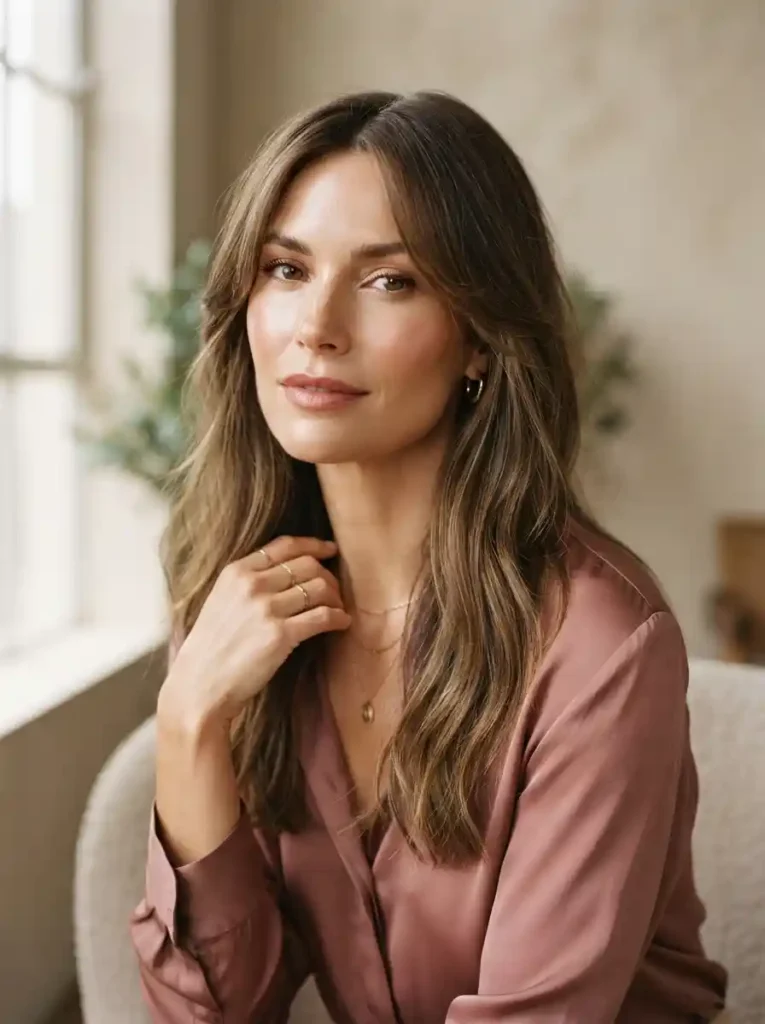
For a heart-shaped face, the most flattering face-framing layers often balance a broader upper face with a narrower chin. Pieces that begin around the lower cheekbone, jaw, or chin can draw visual attention downward rather than adding excessive width near the temples. Soft waves through the lower lengths can reinforce that balance. The exact placement should still reflect your individual features, since face shapes are useful guides rather than strict categories.
Avoid automatically choosing very short, voluminous pieces around the forehead if your goal is balance. Instead, discuss whether longer framing sections could create a smoother transition from the cheekbones toward the chin. Styling the ends away from the face can add graceful movement, while a center or slightly off-center part keeps the overall effect relaxed. If your hair is thick, ask for controlled weight removal so the lower sections do not become overly dense.
21. Glamorous Blowout Layers for a Fresh Finish
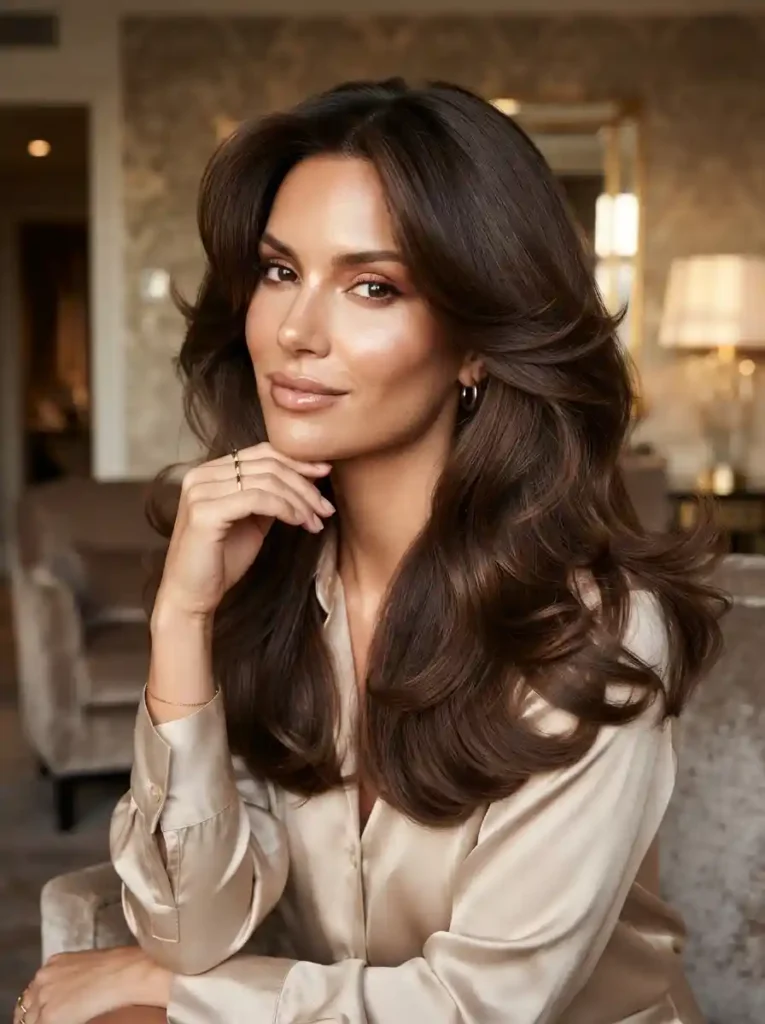
A glamorous blowout can make even familiar face-framing layers feel newly cut. The defining feature is not necessarily a dramatic haircut but the way the shorter pieces are lifted, curved, and swept away from the face. Cheekbone-to-jaw layers work particularly well because they create a cascading transition into the longer lengths. This style suits special occasions, photographs, or anyone who enjoys a polished finish with visible volume and movement.
For lasting shape, begin with a heat protectant and a volumizing product suited to your hair density. Dry each front section over a round brush, directing it backward and slightly upward before allowing it to cool. Velcro rollers can add extra longevity without requiring excessive heat. Once released, brush through gently and finish with flexible hairspray. Avoid saturating the roots with oil or heavy serum, since that can quickly collapse the lift.
Conclusion
Face-framing layers are appealing because they offer plenty of room for personalization. You can keep them long and understated, place them directly around the cheekbones or jaw, combine them with curtain bangs, or embrace a fuller butterfly, shag, or blowout-inspired shape. The most successful haircut is not necessarily the trendiest one—it is one or two reference images and identify what you actually like about them: the starting point of the layers, the amount of volume, the length around the jaw, or the styling direction.
Before your next salon appointment, save one or two reference images and identify what you actually like about them: the starting point of the layers, the amount of volume, the length around the jaw, or the styling direction. That detail gives your stylist something useful to work from. A small change in placement can make a surprisingly big difference, so thoughtful customization is the secret to getting face-framing layers that feel fresh, wearable, and genuinely yours.